Friday 28 September 2012

Historic Windisch


For such a small town, there are quite a lot of historical sights to visit in Brugg/Windisch ranging from the Romans to the Habsburg imperial family. We set off on a dog walk back in July with Mr T and Alf to discover a few of these sites but only realised recently I had forgotten to blog about them!


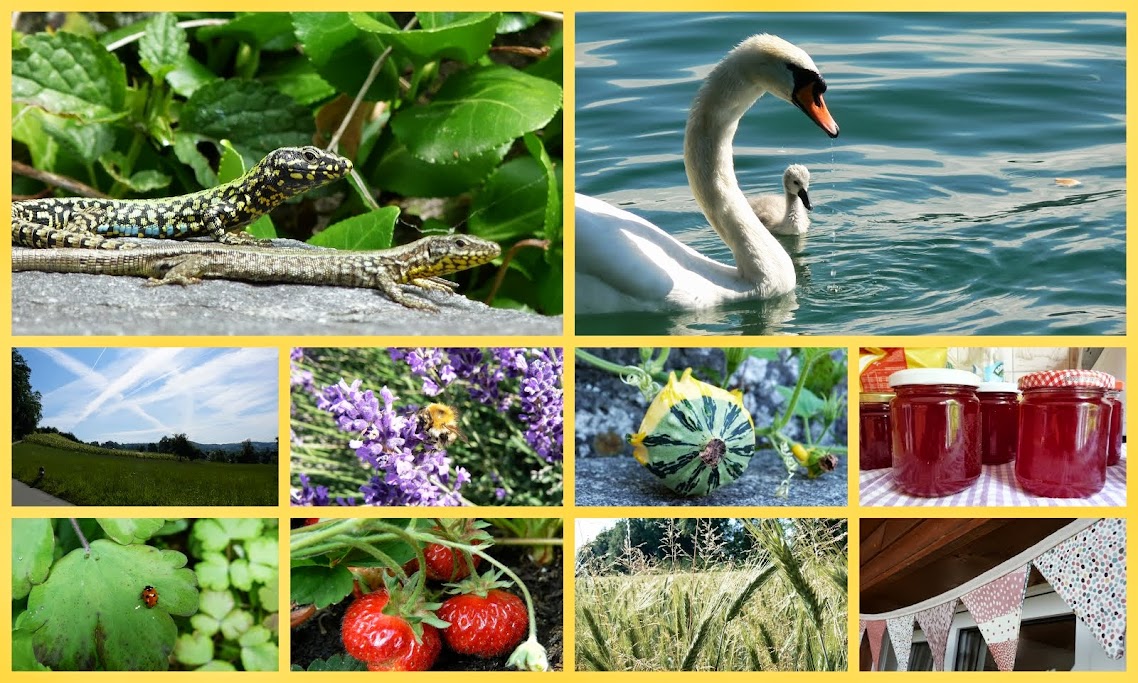
Our tour actually started in the middle of a psychiatric hospital...and no we didn't get lost! Königsfelden Abbey is a former Franciscan monastery and convent  founded in 1308 by the Habsburgs. Later on it  became the residence of the bailiffs of Bern, and since 1868 it has been a psychiatric clinic. The gardens are extremelly nice though and perfect for a gentle afternoon stroll. They have all sorts of animals from wooly pigs, to reindeers budgies and waterfowl.


The whole complex is part of the Legionärspfad or Legionnaire's walk on which one can visit excavations of the Roman camp Vindonissa . The Königsfelden abbey itself apparently contains a beautiful 14th Century stained glass but we didn't go in to see it as we had Alf with us.


However, we could marvel at what was left of the cloister, including old tombstones and beautifully carved windows. The abbey was built to commemorate the death of King Albert I of Germany at the request of his widow in the place where he was murdered by his nephew (History is always tinted with blood...)


Deciding to travel even further back in time, we walked another 15 minutes to the remains of a Roman amphitheatre, also in Windisch. Built around 50AD, it covers an area of 111 x 99 meters and  is the largest of its kind in Switzerland . Very impressive! I have seen many beautiful Roman buidlings during my stay in the South of France last year, including the big amphitheatre in Nîmes, but this little amphitheatre is equally impressive. Most surprising of all, it is completely unfenced and anyone is free to wander there at any time of the day/night.


Holding up to 11,000 spectators, Roman citizens from the Vindonissa camp came here to see gladiators and animal fights.


Amazing what you can get up to during a simple dog walk!

Friday 21 September 2012

TLC

Before- sanded down
 
This old bookshelf made of planks of wood and old bobbins was made by my great grand-father for my grand-mother when she was a little girl. It may have inspired her as she ended up being a seamstress (and no her genes have not been passed on to me as she was way more skillful with a sewing machine than I will ever be...)

First coat of paint

I had this bookshelf in my room myself as a little girl and recently the bookshelf made the trip from France to la Suisse. Mr T sanded it down and I chose some paint to give it some TLC. I wanted a shabby chic feel to this bookshelf as it is probably 80 years old and so I chose a neutral colour. I am not even sure how to best describe the colour...it is called grège in French, I am not sure what the English translation would be but somewhere between light grey and beige if that makes sense. Sorry the pictures don't really show the colour well.

First coat of paint.
Anyway, after 2 coats of paint, the shelf has found a place in Baby Suisse's room:


Maybe this shows the colour better when you compare it to the white money box

I'm glad I have said from the onset that I was going for a shabby chic look so that I can easily justify the non-eveness of the coats of paint and the brush strokes that are still clearly visible in places :-) I am definitely not a painter/decorator!

Oh, and while I'm here, let me show you the badger my friend Ashley has knitted for Baby Suisse:


Awesome right?

Wednesday 19 September 2012

Sunday 16 September 2012

Photo board

Happy Handmade Monday everyone,
 
This week's project cost me absolutely nothing which was brilliant as I just used up things I had lying about the house. I was inspired by a piece of polysterene found in an old IKEA package...yes you read me right!


I thought that with a bit of glue and some fabric I had left over from previous projects (cat cuddly toy and toy bag), I could turn this polysterene rectangle into a nice photo board for Baby Suisse's room, and within about 5 minutes, I did!


I cut a piece of fabric slightly wider than the rectangle, trimmed the corners and carefully folded them over before gluing into place.


And that's how it looked from the front:


All that was left to do was adding two pieces of ribbon and some craft pegs to hold pictures in place et voilà!


Cheap and cheerful! The crowd over at Wendy's Handmade Harbour probably have slightly more skillful projects to share with you :-)

Sunday 9 September 2012

Dragon mobile part II

19/03/2012 Dragon mobile part I

Good morning everyone and welcome to Handmade Monday!

I can't believe it has nearly been 6 months since I first posted about this project. As always, I started with buckets of enthusiasm which somewhat fizzled out very rapidly. I am not even sure why it has taken me 6 months to complete this mobile as it is far from complicated and even though there is quite a bit of hand-sewing involved, it isn't rocket science!
 
I feel that I have to start from the beginning again as March is a long long time away even for you readers who undoubtedly have been gifted with a better memory than I!


I used a polysterene ring covered with ruban to hang my dragons from. That was the easiest (and quickest!) part. Thanks to the wonders of Google, I came across this fab tutorial for felt dragons and my first dragon was born that very same day.


Fast forward 3 months and I still only had one more dragon to my tally as I got side-tracked with other sewing project.


Fast forward another 3 months and Baby Suisse had arrived early and the mobile was still half-finished...not good! Enthusiasm was finally rekindled last week when we had a friend staying over and the mobile was finally ready for its big reveal after a couple of hours work.


All that was needed was some transparent fishing wire to hang the ring to a mobile arm which had been bought second-hand and attached to the bed et voilà!


YEAH!!! Some of you may also spot the new bunting I made for Baby Suisse's room with the same fabric I used for his cot-bumper and toy bag.


Phew... that's me all crafted out for the weekend. I'll grab a cup of coffee and go over to Wendy's Handmade Harbour to get some inspiration from wonderfully gifted peeps :-)

Friday 7 September 2012

Pink chutney


We are very fortunate to have fruits growing of their own accord in our garden here in Brugg. Although this year's weather hasn't been good for the cherry tree or the fig tree, the plums have done ok (and been nailed by the birds) and our lonely plant of rhubarb has gone wild. I am not a big fan of rhubarb-based puddings and would certainly never make them at home but I could not bear to let 2kg+ of free rhubarb go to waste.

 
Thanks to the BBC Good Food website, I came across a recipe for rhubarb and date chutney which was perfect as I also randomly had dates lying about in the cupboard (and we all know that I am a sucker for chutney!). I must admit that preparing all the ingredients (ginger, red onions, dates, raisins, rhubarb and apples) that went into the chutney did take an awful long time, see for yourself!


First step is to bring the onions, ginger and vinegar to the boil before simmering:


The rest of the ingredients (except the rhubarb) then go into the pan until the apples are tender:


Before finally adding the star of the chutney, the rhubabrb!


Once cooked, I like to use a blender to give it a smoother texture. Et voilà, pink chutney!


As with all chutneys, it is best to leave it for at least 1 to 3 months before enjoying as the vinegar taste may be overwhelming although this pink chutney was very sweet tasting on the day and could be eaten sooner.


Definitely a recipe for you to try at home!
Related Posts Plugin for WordPress, Blogger...